GPA 2196 Assembly Begins

Discussions & announcements

Moderator: bobassel

Post Reply
GPA2196
Posts: 273
Joined: Mon Dec 12, 2005 9:47 pm
Contact:

GPA 2196 Assembly Begins

Post by GPA2196 »

Just wanted to give a quick update and thanks to everyone who has helped me get this far. I took the week off from work to head out to Oklahoma to start the assembly of GPA 2196. We built up the chassis and test drove it... Dennis actually got it up to about 40 mph in this configuration without brakes! I was less brave opting for the leisurely drive through the pasture.

Dennis Francis
Image


Me (Tony)
Image

The Hull looked GREAT...
Image
Image

Then we took the axles off of the chassis and got the forklift out
Image

Make sure to put the drag link boot in before lowering the chassis in especially if you are going to keep the engine in place when you put it in.
Image

Image

We lifted the chassis then rolled the hull right under it a little further forward than the chassis so the frame rails clear the winch support frame

Image

Choose a good center of gravity so the Chassis can be tilted forward and your straps don't slip.
Image

Put the front frame bolts in first, then pivot the chassis down

Image

Image

Today, Tuesday we are going to put the axles up under it. The above took about an afternoon. You can see more pictures here:

http://s30.photobucket.com/albums/c327/GPA2196/?start=all

Cheers,
Tony
leo verhagen
C-SICK
Posts: 260
Joined: Tue Dec 13, 2005 8:18 am
Contact:

Post by leo verhagen »

Tony,

That looks great :!:

Looks like building everything on the frame and then lower it in the hull works great.
Could you reach for the bolts and nuts attaching the frame to the hull easy???

Thanks for your reply.
Regards,

Leo Verhagen

http://communities.zeelandnet.nl/data/fordgpa/index.php

Ford GPA#8787 d.o.d. 27 Feb '43
Ford GPW#87243 d.o.d. 21 December '42
Willys MBT waiting for restoration
Dominique Cordonnier
Posts: 41
Joined: Tue Dec 13, 2005 6:48 pm
Contact:

Post by Dominique Cordonnier »

Outstanding work Tony :P
Never thought you could do it that way ! :shock: :roll: Congratulations to you and Dennis , ...... :wink: Good to see some faces on known names .
All my best regards to you both :D
Dominique
Jeep Willys MB 1944
Jeep Willys M38 A1 1958
Jeep M 422 A1 (Mighty Mite ) 1960
Jeep Ford GPA 3052 1942
bobassel
Site Admin
Site Admin
Posts: 462
Joined: Mon Dec 12, 2005 10:29 pm
Contact:

Post by bobassel »

Wonderfull Job Tony !!

I agree with Dominique!, I had my doubts about this method :roll:
I still wonder if you could reach everything with building up?
Anyway , everything looks wonderfull and I can imagine that you are looking out to the first "dive" !! :D
Succes with the work!

Bob (looking again out to my first dive !)
Ford GPA 12350, april 2nd 1943
Author of GPA book,
Willys MD M38A1, A13817 1952
David Welch
Posts: 171
Joined: Thu Aug 03, 2006 10:23 pm
Contact:

Post by David Welch »

Great Job !!!!

You make it look so easy.
David Welch
GPW 77710
M29C 7195
Dukw 353-22096
Bantam trailer
GPA 1359
GPA2196
Posts: 273
Joined: Mon Dec 12, 2005 9:47 pm
Contact:

Post by GPA2196 »

Thanks to all my GPA friends. I appreciate your kind words and wishes!

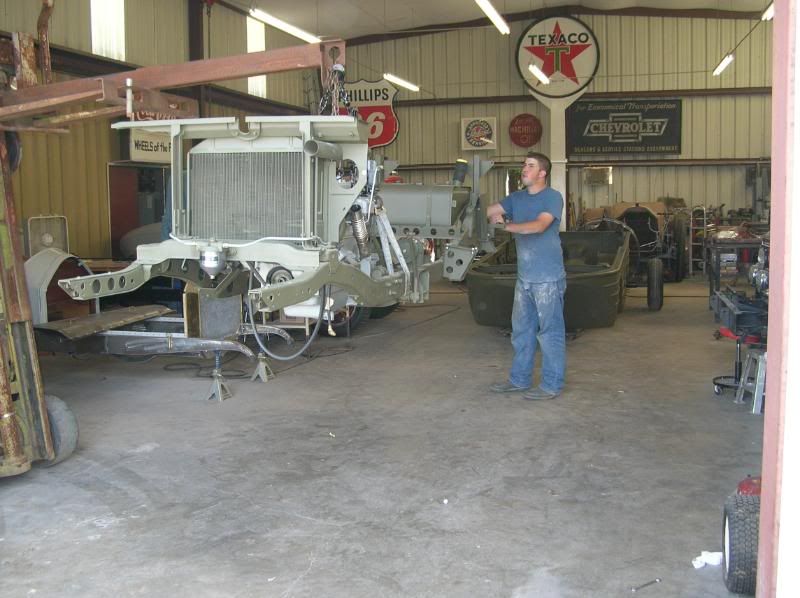
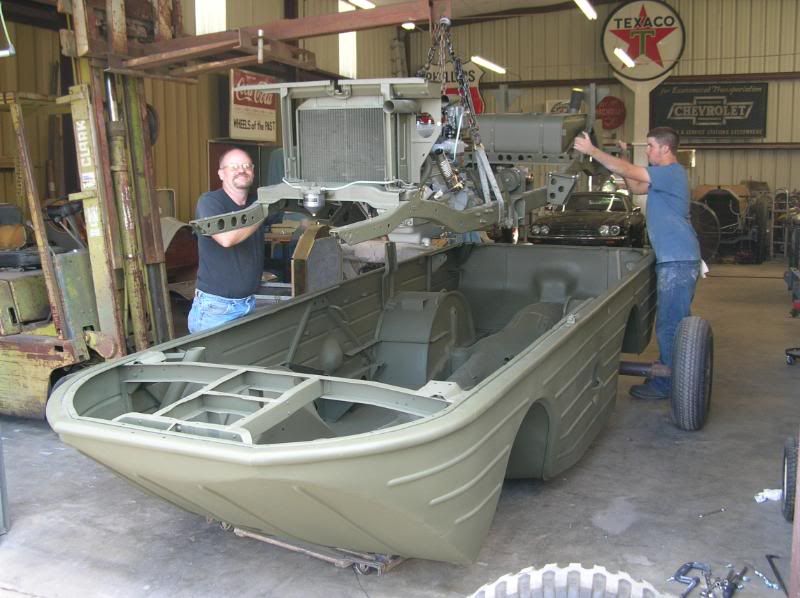
Day two of assembly went pretty well. We used a come along to line up all the holes frame/tub precisely

Image

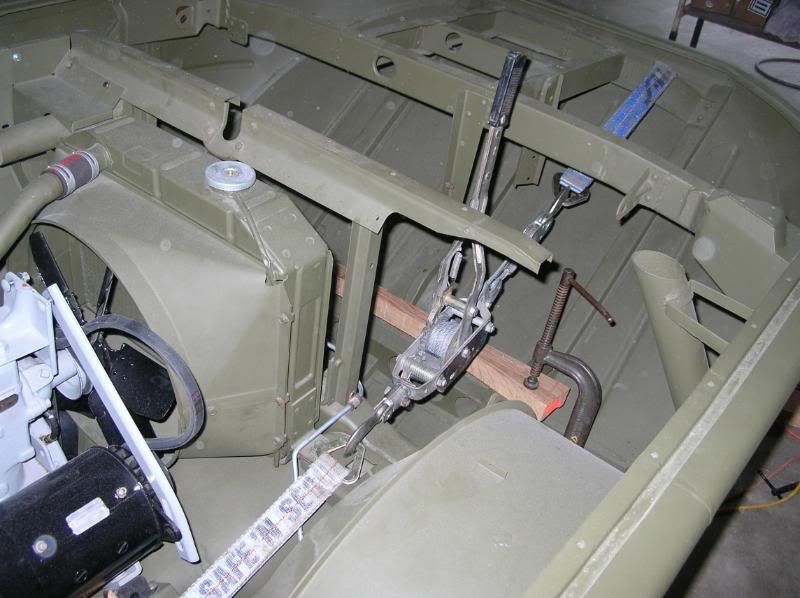
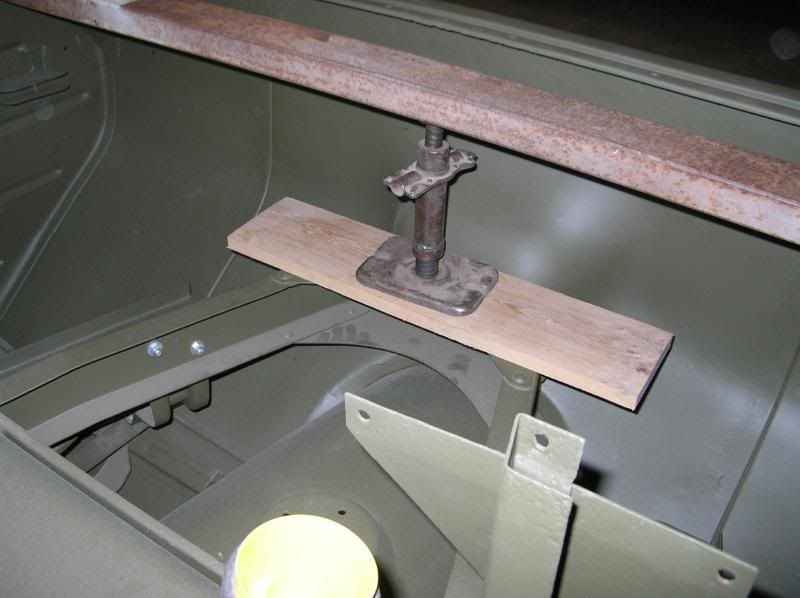
we also used this interesting item which Dennis pulled out of his toolbox. I am going to try and convince him it would have a better home in the GPA tool kit....
Image

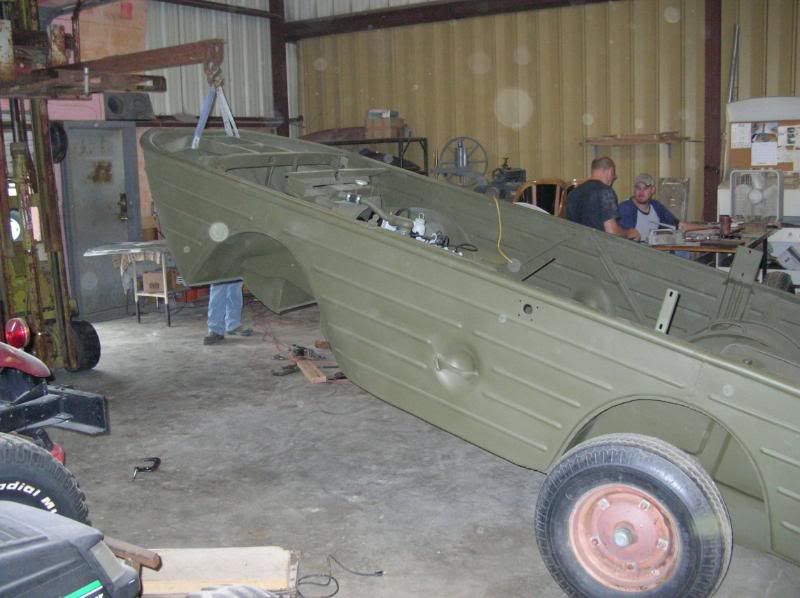
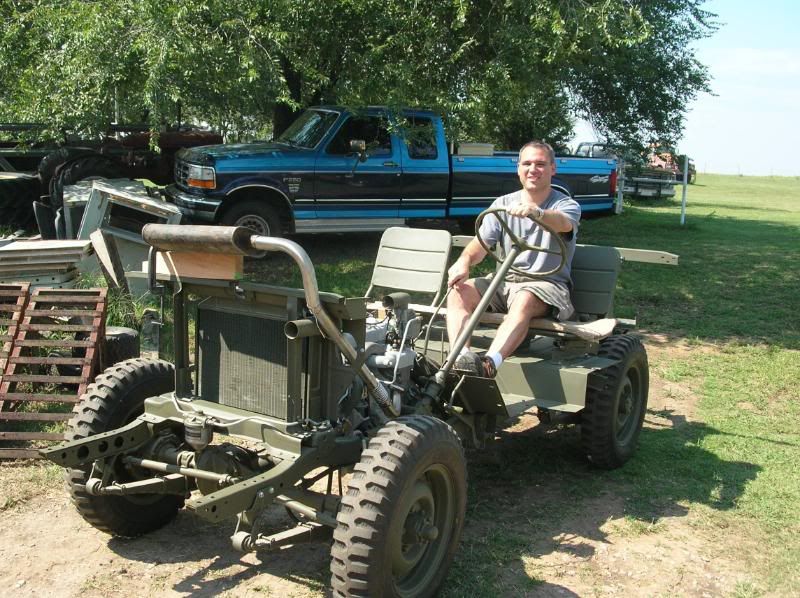
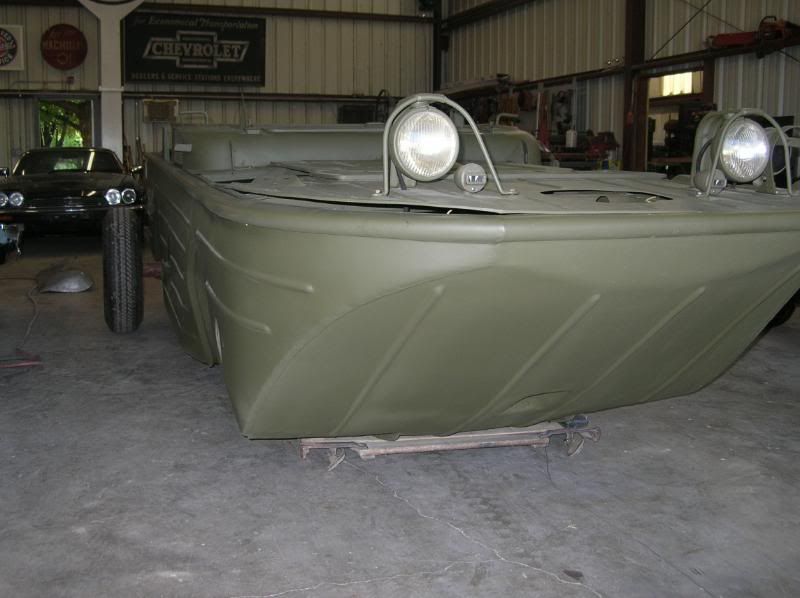
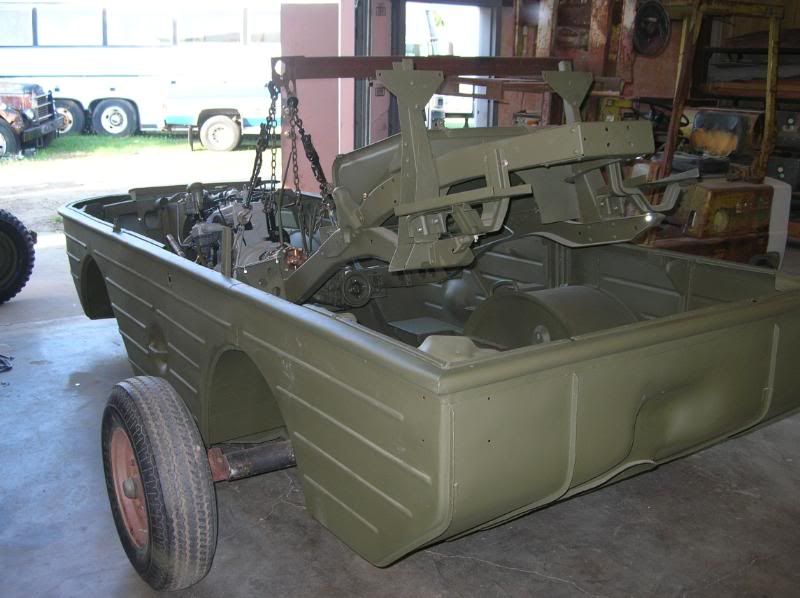
A GPA doing a wheelie.....
Image

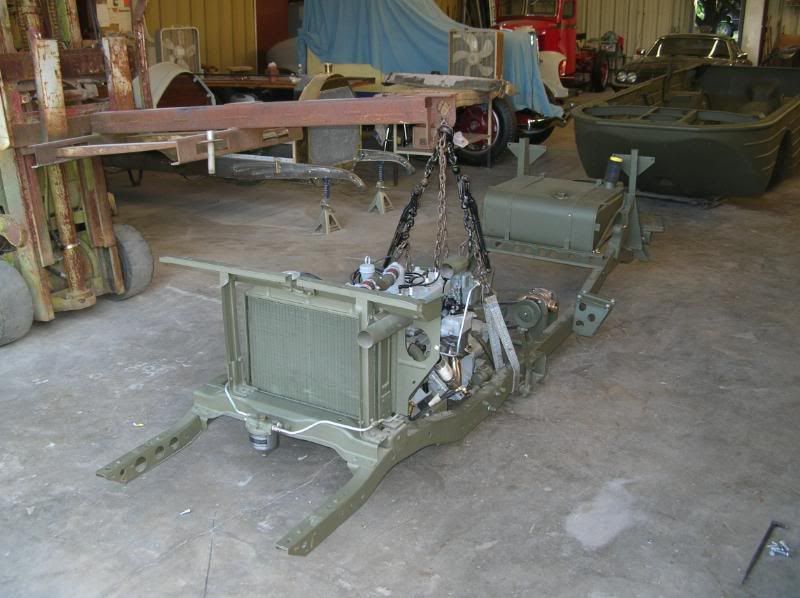
Getting ready to put the front axle in

Image

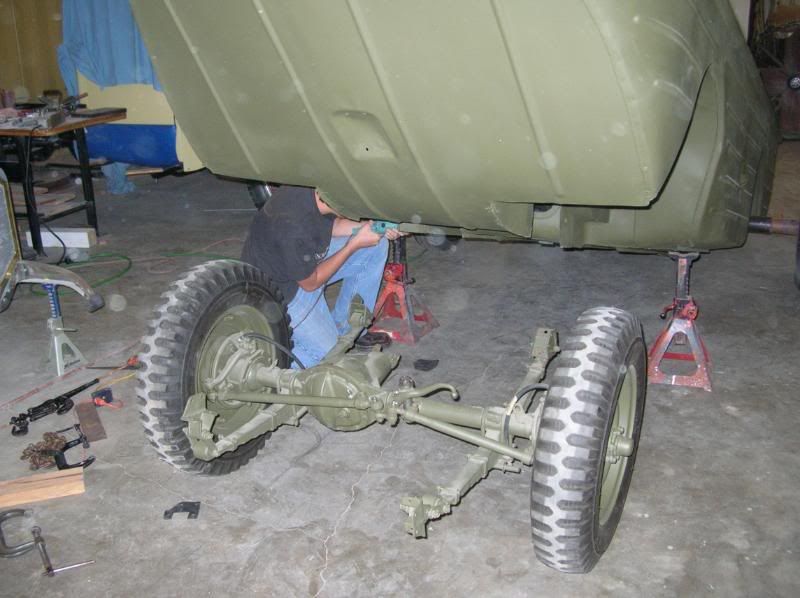
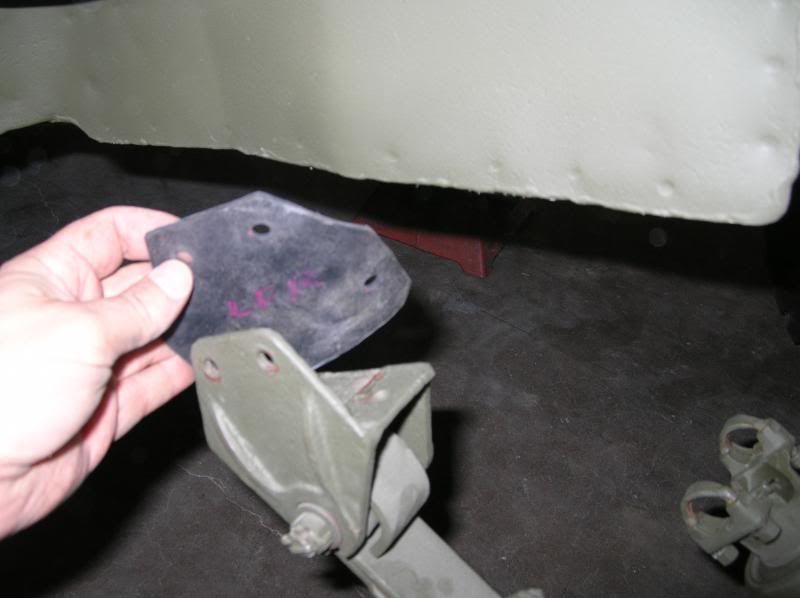
Just cut and punched some spring shackle seals

Image

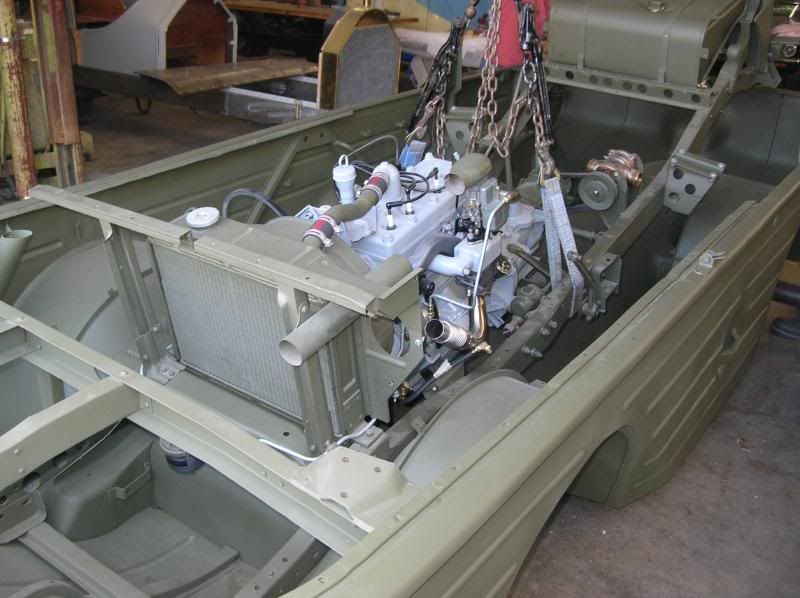
On the front axle with temporary bolts...

Image

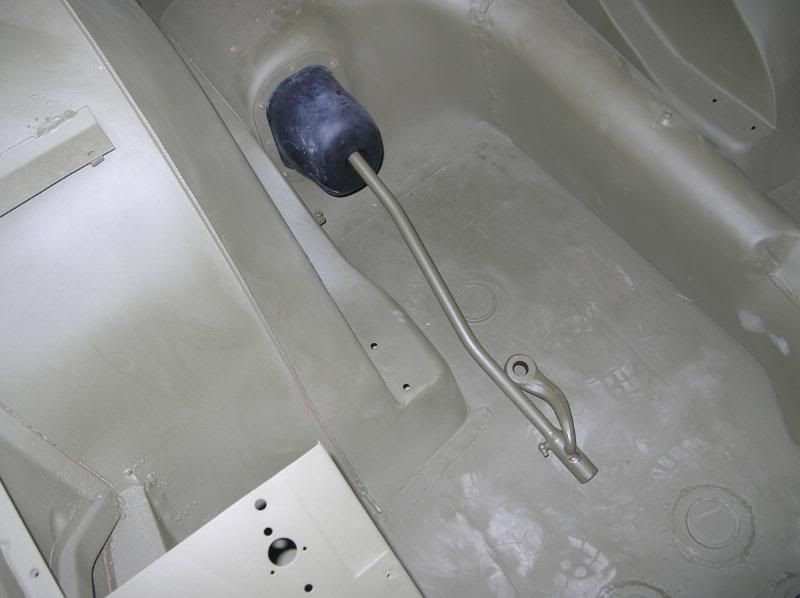
We installed Richard Sanders pin to raise the tie rods and drag link... we had to make a small modification to make it fit right. The shank of the pin didn't match up right with the axle and we had to recut a slot to accept the pin at the new spot. I believe I am a convert to grease the draglink and don't clamp it... it is a very tight fit and I think clamping it would cause a lot of stress on the boot in the straight wheel position.

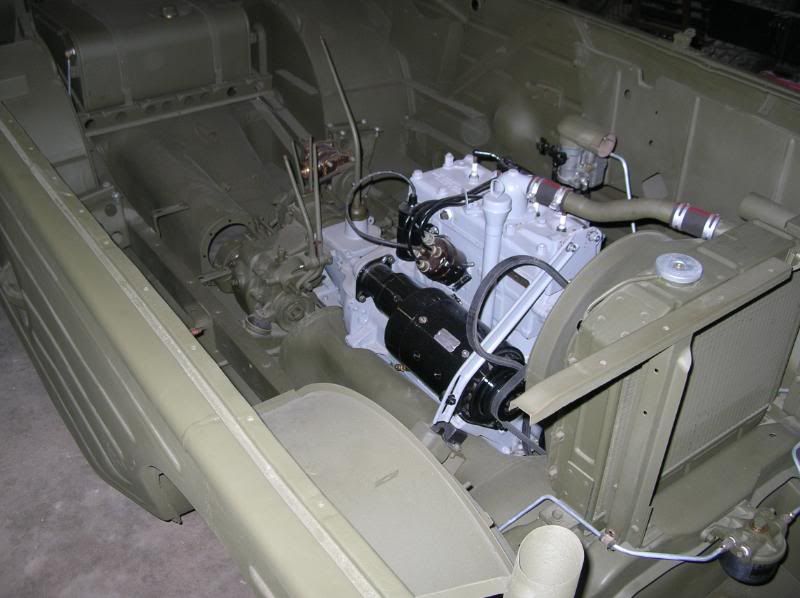
I took the advice of putting the draglink boot in before assembly... but did not see how putting the front driveshaft boot in first would work.... I think in retrospect I would try to put that boot on first as well and deal with hooking up the drive shaft with the boot inside out or something... getting the bottom bolt tight took over an hour... I think we probably spent 3 hours on that boot alone! I think the rear boot should go on relatively easily... but that is for tomorrow... I'll post some pics of the front driveline boot in place tomorrow. And once again thanks for all the kind words and encouragement.

Cheers,
Tony
richardfs
Posts: 151
Joined: Fri Dec 30, 2005 1:02 am
Contact:

GPA assemble

Post by richardfs »

HI Tony,
That is an incredible way to assemble your GPA.
THis puts a whole new spin on my article on how to assemble one.

You have done an incredible job on this vehicle.
I like your idear of test running the drive train with out the hull. It is such hard work to get at any of the mechanics once it is in the hull.

Please let me know what modifications you made to the extended bell crank shaft. ( I am always open to improvements).

Keep up the good work.

Best regards
Richard
Post Reply

Who is online

Users browsing this forum: No registered users and 3 guests