Capstan Winch PTO Refinishing Project
Posted: Wed Sep 19, 2007 2:20 am
Gentlemen,
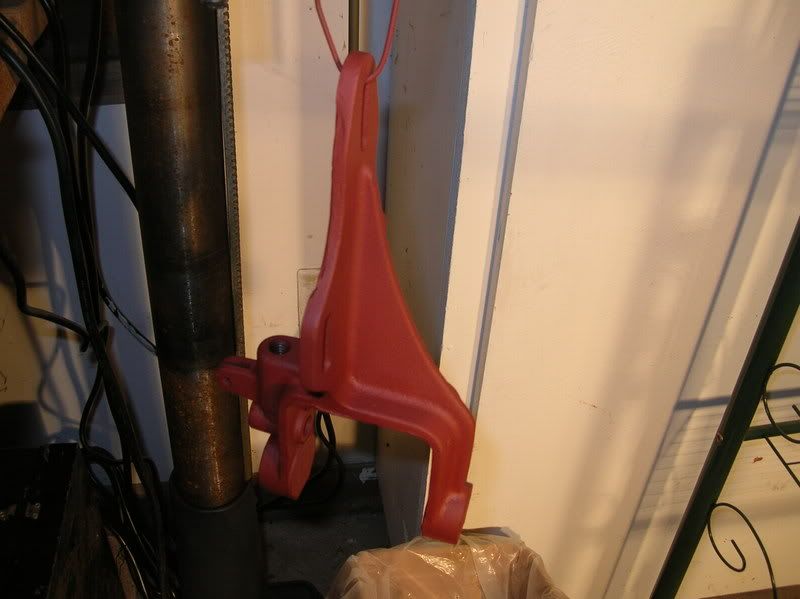
I got my capstan pto back from Dennis and figured I'd redo it as recommended by the members of this board. I am trying to be as accurate as possible. Here are some pics... I'm not done yet but found this small project to be fun.
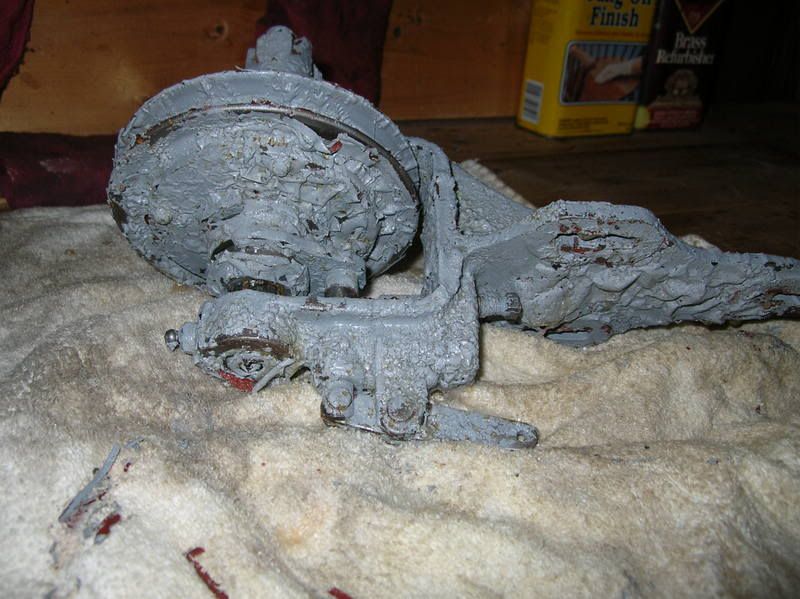
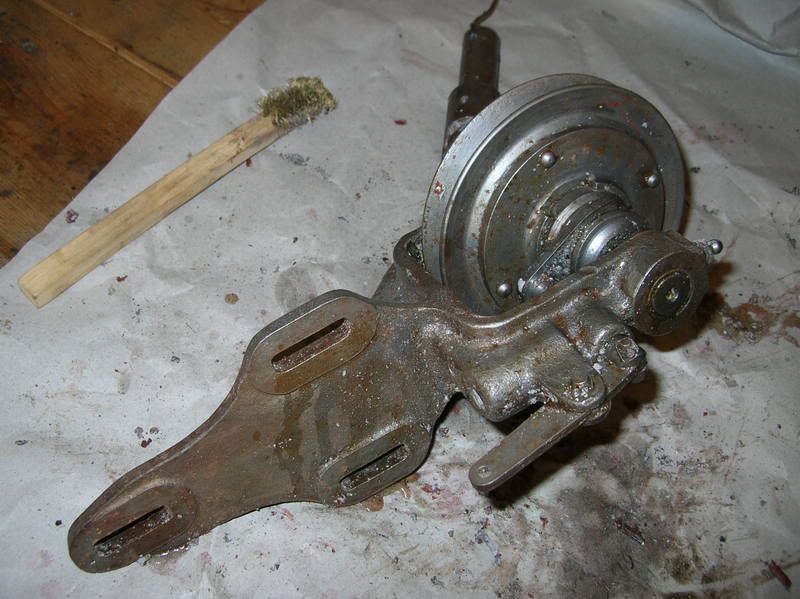
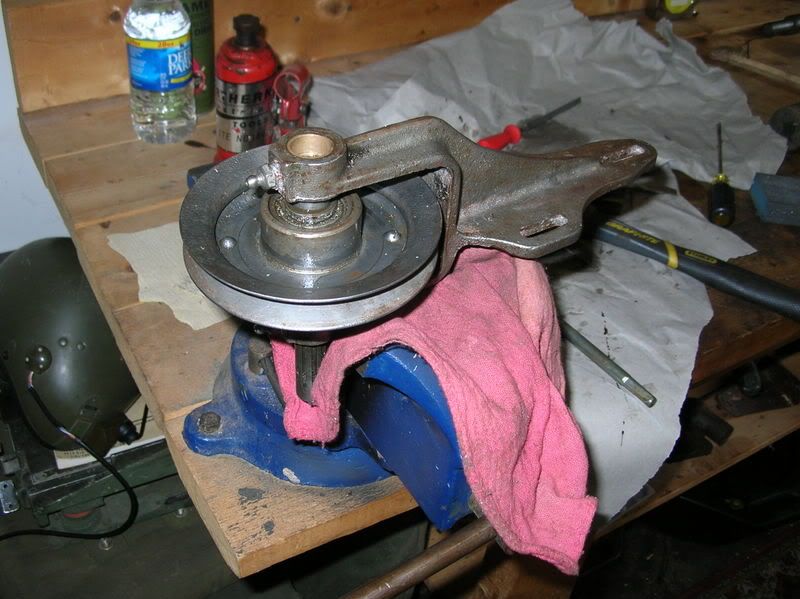
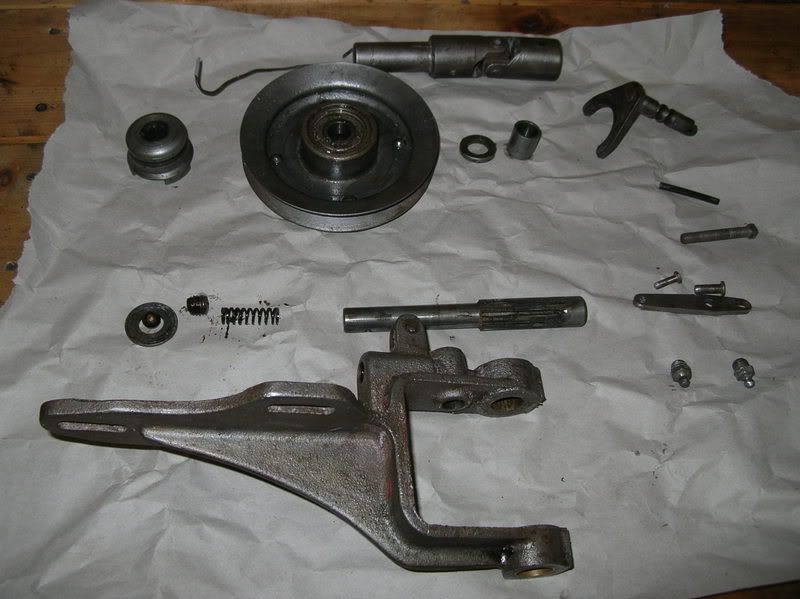
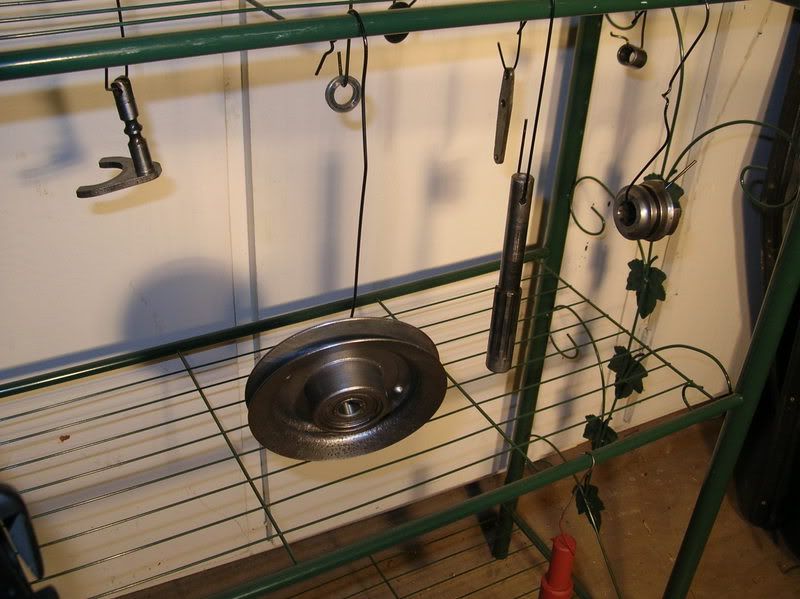
As you may recall it was an NOS bare metal finished part wrapped in cosmoline. Dennis painted it grey to match some pics of a restored GPA we had. I figured I would use some paint stripper and then polish and repaint it. To strip it I used a chemical stripper that can be sprayed from a pump spray bottle. It gets in all the little places and goes on nicely. After stripping it I realized that to do it correctly I would need to disassemble the whole assembly due to all the small spaces where the melted paint was oozing into and out of. After a few minutes of scratching my head I figured out how to disassemble it by removing the shear pin on the front shaft pulling the ball spring and poppet from inside, removing the rear engaging lever and gently tapping the main shaft from front to rear with a small hammer a soft drift and lubricant... obviously a press would have worked best but I don't have one and I managed to get it out without any damage. there are some pics below... I polished the parts to be left bare metal with a small wire wheel on a dremel (soft) and fine sand paper, then clear coated them. The cast part I sanded, cleaned and primered and will paint 33070 to match the rest of my GPA. I will update as I go along.
Cheers,
Tony


